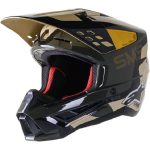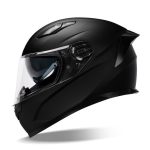
For motorcycle enthusiasts, a helmet isn’t just an accessory; it’s a vital piece of safety equipment. But securing your helmet properly is just as crucial as wearing it. A loose helmet can come flying off during an accident, leaving you vulnerable. Conversely, an overly tight helmet can be uncomfortable and restrict your head movement. This comprehensive guide delves into the different types of motorcycle helmet straps, explores proper fastening techniques, and offers safety tips to ensure a snug and comfortable fit every ride.
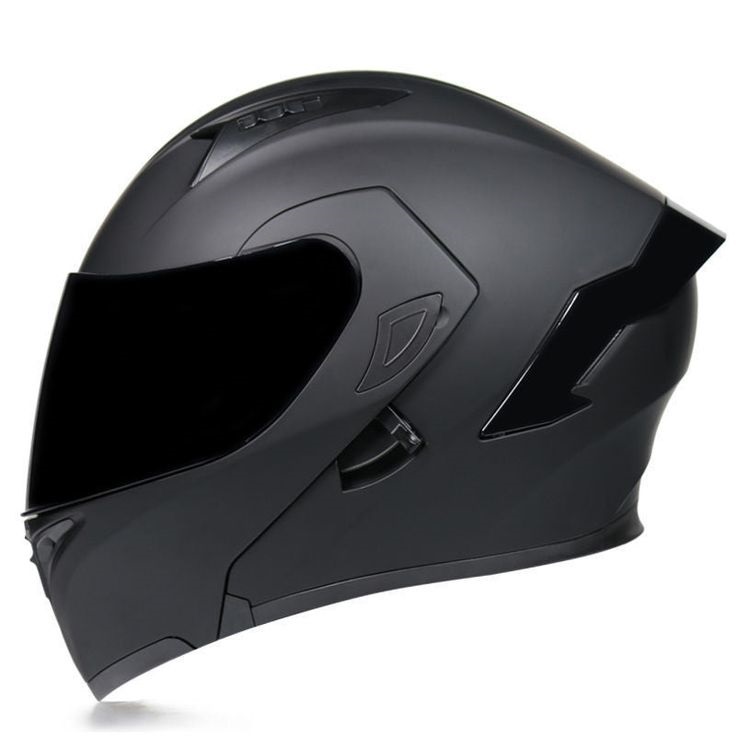
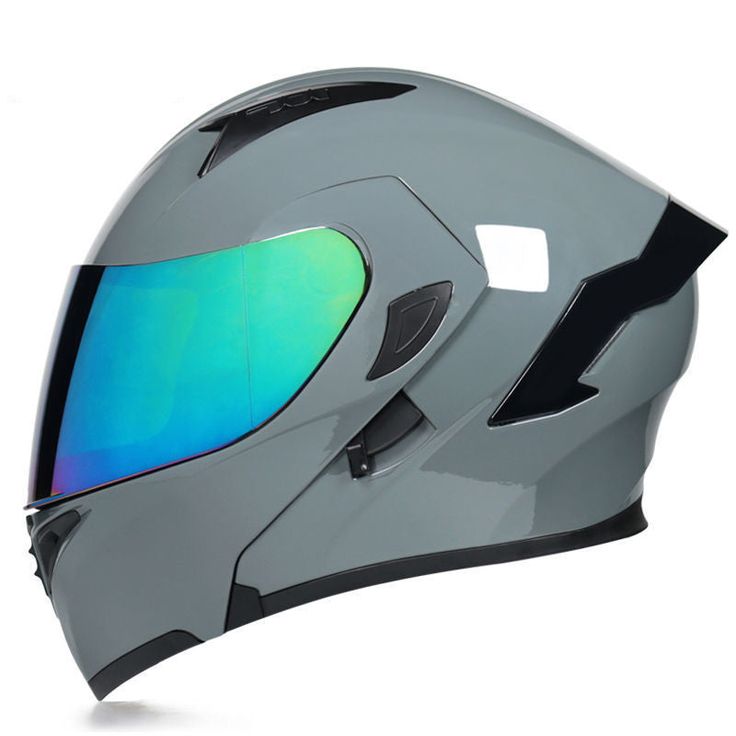
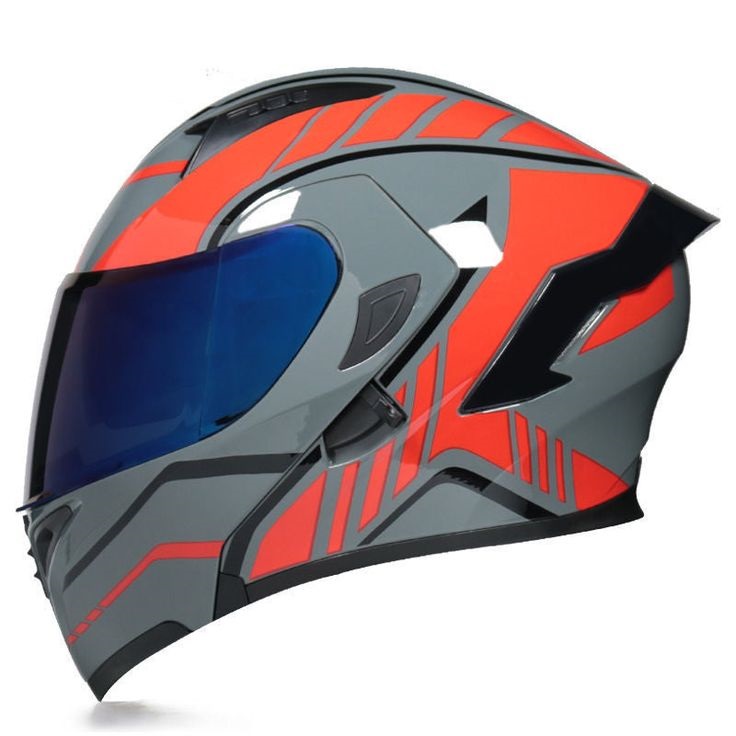
Understanding Motorcycle Helmet Straps: D-Rings vs. Quick-Release
Motorcycle helmets come equipped with two main strap closure systems: D-rings and quick-release buckles. Here’s a breakdown of each:
-
D-Rings: This time-tested system utilizes two D-shaped metal rings on one side of the strap and a corresponding strap end with a male fastener on the other. Riders thread the male fastener through both D-rings and then loop it back through one ring to secure it. D-rings offer maximum security and are the preferred choice for many experienced riders.
-
Quick-Release Buckles: These buckles offer a more convenient fastening method. They typically feature a lever or button that releases the buckle with a single press. While convenient, some riders express concerns about the potential for accidental release during a crash.
Choosing the Right System: Ultimately, the choice between D-rings and quick-release buckles comes down to personal preference.
- D-Rings: Ideal for riders prioritizing absolute security. They might require some practice to fasten quickly but offer the most secure closure.
- Quick-Release Buckles: A convenient option for those who value ease of use. However, ensure the buckle is high-quality and properly adjusted for optimal security.
Important Note: Regardless of the system you choose, ensuring a proper and snug fit is paramount for safety.
Step-by-Step Guide: How to Tie Your Motorcycle Helmet Strap (D-Rings)
Now that you understand the different strap options, let’s dive into the proper fastening technique for D-rings, the most common system:
- Slide the Helmet On: Put on your helmet and ensure it sits comfortably on your head, with a snug but not constricting fit.
- Straighten the Straps: Straighten the D-ring straps on either side of the helmet.
- Thread the Male Fastener: Take the male fastener at the end of one strap and thread it through both D-rings, one ring at a time.
- Loop and Secure: Once the male fastener is threaded through both D-rings, loop it back through the D-ring closest to you. This creates a closed loop.
- Tighten the Strap: Pull on the loose end of the strap to tighten the fit. Ensure the helmet feels secure but not uncomfortably tight. You should be able to fit two fingers comfortably between the strap and your chin.
- Tuck Away Excess Strap: Any excess strap can be tucked under the chin pad for a streamlined look.
Repeat steps 3-6 with the other strap to ensure a symmetrical and secure fit.
Fastening a Quick-Release Buckle: A Swift and Secure Approach
For helmets with quick-release buckles, the process is simpler:
- Put on the Helmet: Follow step 1 from the D-ring instructions.
- Close the Buckle: Locate the buckle on the strap and close it by pushing the two parts together until you hear a click.
- Snug Fit Check: Gently tug on the buckle to ensure it’s securely fastened. The helmet should feel snug but not overly tight.
Remember: Consult your specific helmet’s manual for detailed fastening instructions if they differ from the general steps provided here.
Safety Tips for a Secure and Comfortable Helmet Fit
Here are some additional tips to ensure a safe and comfortable helmet fit:
- Check for Play: Once fastened, try to move the helmet from side to side and front to back. There should be minimal movement. Excessive movement indicates a loose fit.
- Chin Strap Check: The chin strap should be snug enough to prevent the helmet from rotating or coming off during a sudden stop.
- Visor Comfort: The visor should be positioned to allow for clear vision without obstructing your peripheral view.
- Long Rides: On longer rides, periodically adjust the straps to alleviate any pressure points or discomfort.
- Proper Maintenance: Inspect your helmet straps regularly for signs of wear and tear. Replace frayed or damaged straps immediately.
Beyond the Basics: Advanced Helmet Security and Comfort Techniques
While the core fastening techniques covered previously are essential, there are additional steps you can take to further enhance helmet security and comfort:
-
Double D-Ring Technique: For an extra layer of security with D-rings, some riders utilize the “double D-ring” technique. After threading the male fastener through both rings, loop it back through both D-rings again before tightening the strap. This creates a more secure closure.
-
Helmet Bead Roll Adjustment: Many helmets feature a bead roll along the bottom edge of the liner. This roll can be adjusted slightly to fine-tune the overall fit. A tighter roll provides a more snug fit around the cheeks, while a looser roll offers more room. Consult your helmet’s manual for proper adjustment instructions.
-
Cheek Pads and Chin Cups: Some helmets offer replaceable cheek pads and chin cups in various thicknesses. If you find the helmet feels too loose or pinches your cheeks, consider purchasing thicker cheek pads. Conversely, for a tighter fit, explore thinner options. Similar adjustments can be made with chin cups for a more customized fit around your chin.
-
Break-In Period: New helmets often require a short break-in period as the padding adjusts to your head shape. This might result in a slightly snugger fit initially. Wear your helmet for short periods around the house to allow the padding to conform to your head.
When to Replace Your Motorcycle Helmet
Motorcycle helmets, like any safety equipment, have a limited lifespan. Here are some signs indicating it’s time for a new helmet:
- Visible Damage: Cracks, deep scratches, or gouges in the helmet shell compromise its protective capabilities. Replace the helmet immediately if you notice any such damage.
- Loose or Worn Straps: Frayed or weakened straps can’t ensure a secure fit. Replace the straps or the entire helmet if the straps are damaged.
- Interior Degradation: The helmet’s interior padding can deteriorate over time, losing its ability to absorb impact. If the padding feels excessively worn or compressed, consider replacing the helmet.
- Age: Most helmet manufacturers recommend replacing your helmet every 5-7 years, even if it shows no visible signs of damage. This is due to the potential degradation of materials over time.
Remember, your helmet is your lifeline in a motorcycle accident. Don’t hesitate to replace it if you have any concerns about its safety or integrity.
Finding the Perfect Fit: Resources for Selecting a Motorcycle Helmet
Choosing the right motorcycle helmet is crucial for both safety and comfort. Here are some resources to guide you in the selection process:
- Helmet Retailers: Visit reputable motorcycle gear stores where experienced staff can help you find a helmet that fits your head shape and riding style. They can also assist with proper sizing and ensure you understand the fastening system.
- Online Resources: Numerous online resources offer helmet size guides and reviews. However, trying on helmets in person is crucial for optimal fit.
- Helmet Fit Check Events: Many motorcycle organizations and safety groups host helmet fit check events. These events offer a valuable opportunity to get professional guidance on selecting and fitting a helmet.
Investing in a high-quality, well-fitting helmet is an investment in your safety. Don’t settle for anything less!