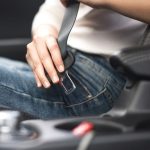
Your car’s seat belt is your guardian angel during a collision. It’s the primary restraint system designed to keep you securely positioned in your seat, minimizing the risk of injuries. But like any safety feature, seat belts can wear down over time or become damaged in an accident. Knowing how to replace a seat belt is crucial to ensure your continued safety on the road. This comprehensive guide explores when seat belt replacement becomes necessary, the steps involved in the process, and important safety considerations.
Understanding Seat Belt Functionality and Potential Issues
Seat belts work by distributing the force of a collision across a wide area of your body, typically your chest and pelvis. This helps to prevent serious injuries from being inflicted by the impact. However, several factors can compromise the effectiveness of a seat belt:
-
Age and Wear: Seat belt webbing can degrade over time due to exposure to sunlight, heat, and constant use. This can weaken the fibers, reducing their ability to withstand the forces of a collision.
-
Tears or Cuts: Any rips, tears, or cuts in the webbing significantly compromise the seat belt’s integrity. Even a minor tear can become a major point of failure in an accident.
-
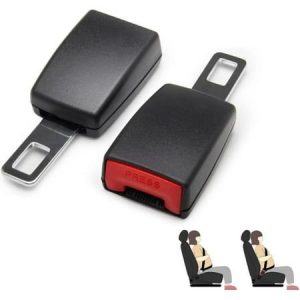
Latch Mechanism Malfunction: The latch mechanism is the buckle that you fasten to secure the seat belt. If the latch becomes faulty or damaged, it may not engage properly, rendering the seat belt unusable.
-
Rewind Issues: The seat belt webbing should retract smoothly after unbuckling. If the retractor mechanism malfunctions, the belt might not retract fully, hindering proper positioning and increasing the risk of injury.
By understanding these potential issues, you can identify when replacing your car’s seat belt becomes necessary.
Warning Signs: When Your Seat Belt Demands Attention
Several signs indicate that it’s time to replace your car’s seat belt:
-
Visible Damage: Regularly inspect your seat belts for any signs of fraying, cuts, or tears in the webbing. Even minor damage can pose a safety risk.
-
Latch Mechanism Issues: If the latch doesn’t engage securely or requires excessive force to buckle or unbuckle, it might be faulty and necessitate replacement.
-
Slow or Erratic Retraction: If the seat belt webbing retracts slowly or gets stuck after unbuckling, it might be a sign of a malfunctioning retractor mechanism.
-
Age of the Vehicle: As a general guideline, consider replacing seat belts on vehicles older than 10-15 years, even if they show no visible signs of damage. Consult your car’s owner’s manual for any specific recommendations from the manufacturer.
-
After a Collision: Even if your seat belt appears undamaged after an accident, it’s crucial to have it inspected by a qualified mechanic. The webbing might have sustained internal damage that could compromise its effectiveness in future collisions.
If you experience any of these warning signs, don’t hesitate to replace your seat belt. Remember, your safety is paramount.
Safety First: Important Considerations Before Replacement
Before diving into the replacement process, here are some crucial safety considerations to keep in mind:
-
Consult a Qualified Mechanic: Replacing a seat belt can be a complex task, especially for vehicles with pretensioner systems (automatic seat belt tightening during a collision). It’s highly recommended to seek assistance from a qualified mechanic or technician with experience in seat belt replacement.
-
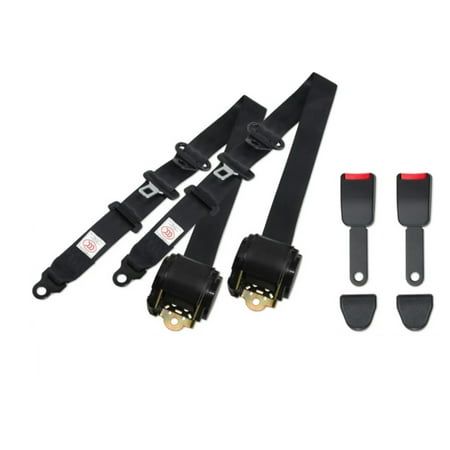
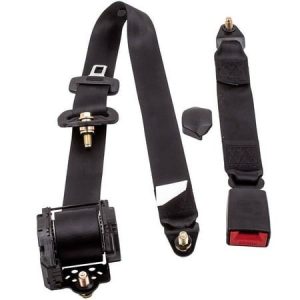
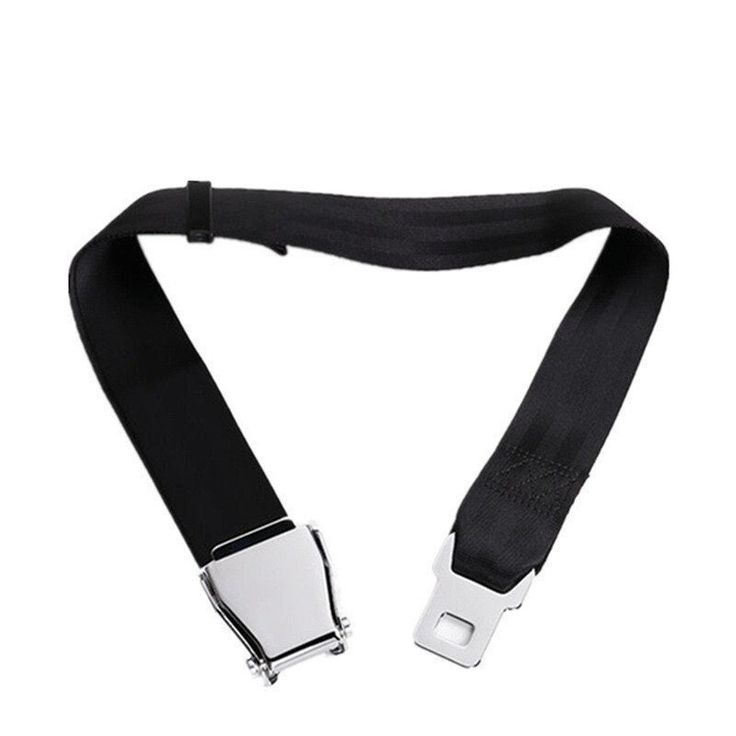
Obtain the Correct Replacement Belt: Not all seat belts are universal. Ensure you purchase a replacement belt specifically designed for your car’s make, model, and year. Consult your owner’s manual or a trusted mechanic for guidance on finding the right replacement part.
-
Deactivate the Airbag System (if applicable): Some vehicles have seat belts integrated with airbag systems. If this is the case for your car, it’s crucial to deactivate the airbag system before attempting any seat belt replacement to avoid accidental deployment. Refer to your owner’s manual for specific instructions on deactivating the airbag system for your vehicle.
-
Follow Safety Precautions: Always wear safety glasses and gloves when handling seat belt components. Be cautious around any exposed wiring or airbag components (if applicable).
If you’re comfortable with DIY repairs and possess the necessary mechanical knowledge, you can proceed with the replacement process yourself. However, for most drivers, seeking professional assistance from a mechanic is the safest and most reliable option.
Step-by-Step Guide: Replacing Your Car’s Seat Belt (DIY Approach)
Disclaimer: The following steps are for informational purposes only and should not be a substitute for professional guidance. Attempting DIY seat belt replacement at your own risk. It’s highly recommended to consult a qualified mechanic for this task.
Tools Required:
- Socket wrench set
- Screwdrivers (flathead and Phillips)
- Trim removal tool (optional)
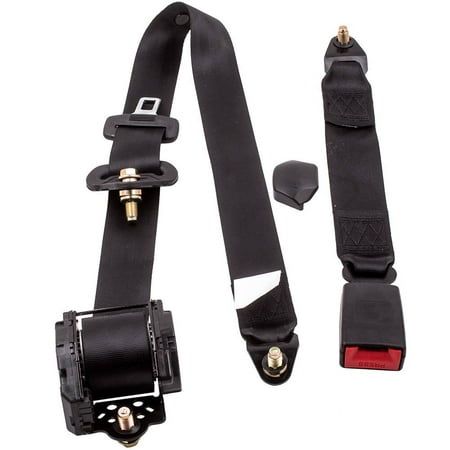
- Replacement seat belt (specific to your car)
Steps:
-
Locate the Seat Belt Mounting Points: Consult your car’s repair manual or online resources to identify the location of the seat belt mounting points (typically on the floor pillar and B-pillar).
-
Deactivate the Airbag System (if applicable): As mentioned earlier, refer to your owner’s manual for specific instructions on deactivating the airbag system for your vehicle before proceeding.
-
Disconnect the Battery: An extra safety precaution is to disconnect the negative terminal of your car’s battery to prevent any electrical hazards.
-
Access the Seat Belt: You might need to remove trim panels or covers to access the seat belt mounting points. Use a trim removal tool (if necessary) to carefully pry off these panels without damaging them.
-
Unbolt the Seat Belt: Using the appropriate socket wrench, loosen and remove the bolts securing the seat belt to the mounting points.
-
Detach the Seat Belt Buckle: Locate the mechanism that releases the seat belt buckle and detach it carefully. There might be a release button or a cable connection depending on your car’s design.
-
Feed the New Seat Belt Through: Carefully feed the new seat belt through the designated slots and channels, ensuring it follows the same path as the original belt.
-
Secure the New Seat Belt: Reattach the seat belt to the mounting points using the bolts you removed earlier. Tighten the bolts securely following the torque specifications mentioned in your car’s repair manual.
-
Reconnect the Buckle Mechanism: Reconnect the buckle release mechanism to the new seat belt, ensuring proper functionality.
-
Reattach Trim Panels (if applicable): Carefully reattach any trim panels or covers you removed during the process.
-
Reconnect the Battery: Reconnect the negative terminal of your car’s battery.
-
Test the New Seat Belt: Before operating your vehicle, buckle and unbuckle the new seat belt several times to ensure smooth operation and proper latching.
Remember, these are general steps, and the specific process might vary depending on your car’s make and model. Always consult a repair manual or qualified mechanic for accurate instructions.
Invest in Safety: The Importance of Proper Seat Belt Maintenance
While replacing a seat belt might be necessary occasionally, proper maintenance can significantly extend its lifespan and functionality:
-
Keep Your Car Clean: Dirt, dust, and debris can accumulate on the seat belt webbing and latch mechanism, hindering their smooth operation. Regularly wipe down the seat belt with a damp cloth to maintain cleanliness.
-
Avoid Harsh Chemicals: Avoid using harsh chemicals or cleaning agents on the seat belt, as they can damage the webbing and weaken its fibers. Use a mild soap solution or a dedicated seat belt cleaner.
-
Inspect Regularly: Incorporate seat belt inspection into your routine. Look for any signs of damage, fraying, or malfunctioning latch mechanisms. It’s also advisable to cycle the seat belt webbing by buckling and unbuckling it several times to ensure smooth retraction.
-
Don’t Use Harsh Cleaning Methods: Avoid using abrasive brushes or sponges when cleaning the seat belt. These can damage the webbing and compromise its integrity.
-
Store Properly: When the car is not in use, avoid letting the seat belt twist or bunch up. Let it hang naturally to prevent unnecessary strain on the webbing.
By following these simple maintenance practices, you can extend the lifespan of your seat belt and ensure its optimal functionality for years to come.
Equipping Yourself for Safety: Where to Find Replacement Seat Belts
If you decide to replace your car’s seat belt yourself, acquiring the right replacement part is crucial. Here are some options to consider:
-
Car Dealerships: Your car dealership is a reliable source for genuine replacement seat belts specifically designed for your vehicle’s make and model. While dealerships might offer the most guaranteed compatibility, the parts might come at a premium price.
-
Auto Parts Stores: Reputable auto parts stores carry a wide variety of replacement seat belts for various car models. Ensure you provide them with your car’s exact details to ensure compatibility. While potentially more affordable than dealerships, double-check the quality and warranty offered by the replacement belt brand.
-
Online Retailers: Several online retailers offer replacement seat belts. While convenient, be cautious when purchasing online. Verify the seller’s reputation, ensure the belt is compatible with your car, and prioritize brands known for safety compliance and quality.
Remember, prioritizing safety should always come first. Don’t hesitate to invest in a high-quality replacement belt from a trusted source.
Buckle Up for Safety: Schedule a Seat Belt Inspection Today!
Your car’s seat belt is your lifeline during a collision. Don’t wait for a warning sign to address potential issues. Schedule a professional seat belt inspection at your local mechanic’s shop. A qualified mechanic can thoroughly assess your seat belt’s condition, identify any problems, and recommend replacements if necessary. Prioritize your safety – don’t let a faulty seat belt compromise your well-being on the road. Find a reputable mechanic today and ensure you’re buckled up for a safe journey!