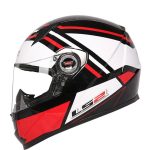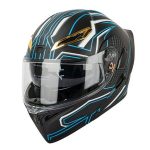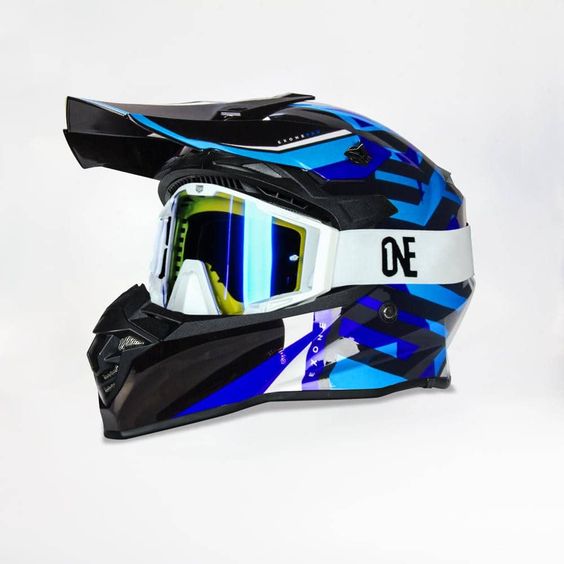
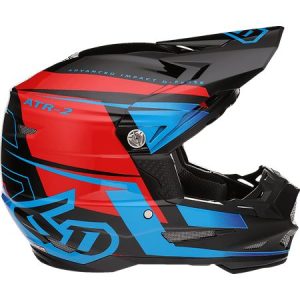
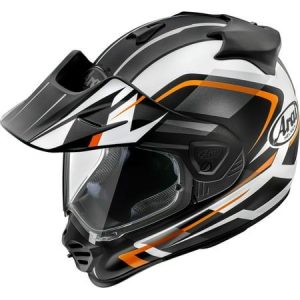
Your motorcycle helmet is your shield against the elements. It protects your head from wind, rain, bugs, and worst of all, in the unfortunate event of an accident. But just like any other piece of gear you wear, your helmet can get dirty, sweaty, and downright smelly over time. Regular cleaning is essential to maintain optimal hygiene, comfort, and visibility while riding.
This comprehensive guide will show you how to clean the inside of a motorcycle helmet like a pro. We’ll delve into the cleaning process, including what to use, what to avoid, and some helpful tips to keep your helmet fresh and comfortable for every ride.
Why Clean the Inside of Your Motorcycle Helmet?
There are several compelling reasons to clean the inside of your motorcycle helmet regularly:
- Improved Hygiene: Helmets absorb sweat, dead skin cells, and dust, creating a breeding ground for bacteria and odor. Regular cleaning prevents the buildup of these elements, promoting hygiene and a fresher smelling helmet.
- Enhanced Comfort: A clean helmet interior feels more comfortable against your skin, especially during hot weather rides. Sweat buildup can make the helmet feel sticky and unpleasant, hindering your riding experience.
- Better Visibility: Dust, grime, and even fog can accumulate on the helmet’s visor, obstructing your vision. Cleaning the visor ensures optimal visibility for safe and confident riding.
- Extended Helmet Lifespan: Regular cleaning removes dirt and grime that can prematurely wear down the helmet’s inner lining and padding. This helps your helmet last longer and maintain its protective capabilities.
Understanding Your Helmet’s Anatomy: Removable vs. Non-Removable Liners
Before diving into the cleaning process, it’s crucial to understand your helmet’s construction. Most modern motorcycle helmets come with removable liners and cheek pads. These liners are typically made of a moisture-wicking, breathable fabric designed to be comfortable and washable.
However, some older helmets or budget-friendly models may have non-removable liners. While cleaning these helmets requires a different approach, fret not, we’ll cover both scenarios in this guide.
Gathering Your Cleaning Arsenal: Essential Supplies
To effectively clean the inside of your motorcycle helmet, you’ll need a few key supplies:
- Mild Detergent: Opt for a gentle, non-abrasive laundry detergent or a solution of baby shampoo and lukewarm water. Harsh detergents can damage the helmet’s liner and padding.
- Soft-Bristled Brush: A soft-bristled brush, such as a toothbrush, helps loosen dirt and grime from the helmet’s interior crevices.
- Microfiber Cloths: Microfiber cloths are ideal for wiping down the helmet’s liner and visor without scratching the surface.
- Bucket or Sink: You’ll need a clean bucket or sink to wash the removable liner and cheek pads.
- Spray Bottle (Optional): A spray bottle filled with clean water can be helpful for rinsing the helmet’s interior and visor.
Additional Considerations:
- Helmet Cleaner: For stubborn stains or odors, consider using a specialized motorcycle helmet cleaner. These cleaners are formulated to be safe for your helmet’ materials and effectively remove dirt, sweat, and grime.
- Disinfectant Wipes (Optional): Disinfectant wipes can be used to sanitize the helmet’s interior after cleaning, especially if you share your helmet with others.
Important Note: Always check your helmet manufacturer’s care instructions before using any cleaning products. Different materials might require specific cleaning methods.
Cleaning a Removable Motorcycle Helmet Liner and Cheek Pads
- Pre-Cleaning: Gently remove any loose debris from the helmet interior with your hands or a vacuum cleaner with a soft brush attachment. Pay close attention to the vents and crevices where dirt and dust tend to accumulate.
- Unclip and Remove: Locate the fasteners that secure the liner and cheek pads to the helmet shell. These are typically snaps or velcro closures. Unfasten them carefully and remove the liner and cheek pads for individual cleaning.
- Soak the Liner and Pads (Optional): If your helmet liner and cheek pads are heavily soiled or smelly, pre-soak them in a lukewarm solution of mild detergent and water for 30 minutes. This helps loosen dirt and grime for a more effective cleaning.
- Washing the Liner and Pads: Fill your bucket or sink with lukewarm water and add a small amount of mild detergent or baby shampoo. Gently hand-wash the liner and cheek pads, paying attention to areas that tend to get sweaty, like the forehead and crown areas.
- Scrubbing (Optional): For stubborn stains or grime, use a soft-bristled brush to gently scrub the affected areas. Avoid using harsh brushes or abrasive cleaning pads, as they can damage the fabric.
- Rinsing: Rinse the liner and cheek pads thoroughly with clean water to remove all soap residue. You can use a spray bottle filled with clean water to aid the rinsing process.
- Drying: Gently squeeze out excess water from the liner and cheek pads. Do not wring them out, as this can damage the material. Allow them to air dry completely in a well-ventilated area out of direct sunlight. Avoid using dryers or artificial heat sources, as this can shrink or warp the liner and pads.
Cleaning a Non-Removable Motorcycle Helmet Liner:
- Pre-Cleaning: Just like with a removable liner, start by removing any loose debris from the helmet interior with your hands or a vacuum cleaner with a soft brush attachment.
- Spot Cleaning: Mix a solution of mild detergent and lukewarm water in a spray bottle. Lightly mist the helmet’s interior, focusing on sweaty areas and visible stains.
- Scrubbing: Use a soft-bristled brush to gently scrub the moistened areas. Pay particular attention to the seams and crevices where dirt and grime tend to accumulate.
- Wiping Down: Use a clean, damp microfiber cloth to wipe down the entire helmet interior, removing any cleaning solution residue.
- Drying: Allow the helmet interior to air dry completely. Prop the helmet upside down in a well-ventilated area out of direct sunlight. You can stuff the helmet with a clean, absorbent cloth to aid the drying process.
Speed up the drying process by stuffing the helmet with crumpled newspaper. The newspaper will absorb moisture and help the liner dry faster. Just be sure to remove the newspaper completely once the liner is dry to avoid any ink transfer.
Cleaning the Motorcycle Helmet Visor and Shell
- Gather Additional Supplies: In addition to your cleaning supplies from earlier, you’ll need a dedicated helmet visor cleaner or a solution of mild dish soap and lukewarm water for cleaning the visor.
- Cleaning the Visor: Spray the visor with your chosen cleaning solution. Use a microfiber cloth to gently wipe down the visor, both inside and outside. Buff the visor with a dry microfiber cloth to remove any streaks or residue.
- Cleaning the Shell: Use a damp microfiber cloth to wipe down the helmet’s outer shell. You can use a mild soap solution for stubborn dirt or grime. Always rinse the cloth thoroughly to avoid transferring dirt back onto the shell.
Safety First: When to Replace Your Motorcycle Helmet
While proper cleaning and maintenance can extend the lifespan of your motorcycle helmet, there comes a time when replacement is necessary. Here are some signs that indicate it’s time for a new helmet:
- Age: Even if your helmet appears to be in good condition, experts recommend replacing your helmet every 5-7 years. Over time, the materials in the helmet can degrade, compromising its protective capabilities.
- Visible Damage: Cracks, deep scratches, or gouges in the helmet shell significantly reduce its effectiveness in an accident. If you notice any such damage, replace your helmet immediately.
- Loss of Fit: If your helmet feels loose or no longer fits snugly, it’s time for a new one. A properly fitting helmet is crucial for optimal safety and protection.
- Multiple Impacts: Even if your helmet shows no visible damage, if it has been involved in a crash, it’s best to replace it. Impacts can compromise the helmet’s internal structure, reducing its ability to protect your head in a future accident.
Your motorcycle helmet is your most important safety gear. Don’t compromise your safety by riding with a worn-out or damaged helmet.