Introduction to Car Dealer Stickers
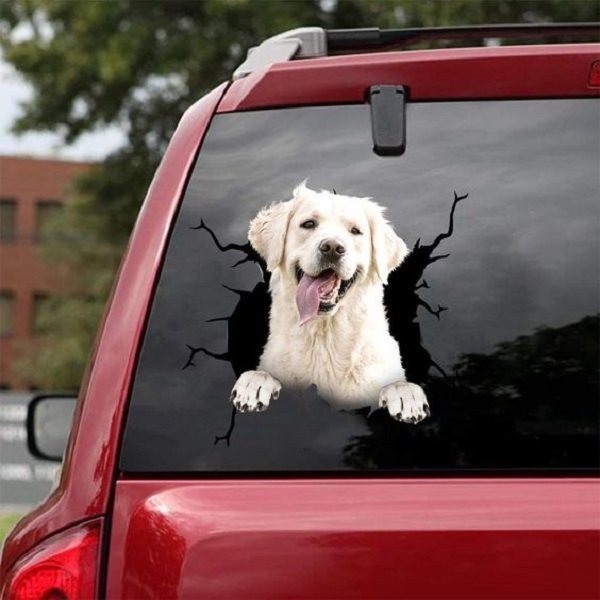
How to remove car dealer sticker? Car dealer stickers are commonly found on new vehicles. Dealers use them for branding and marketing. These decals might display the dealer’s name, logo, or contact information. Although they serve a purpose for dealers, they might not be appealing to car owners. Many owners prefer a clean look for their cars without the advertising. Removing these stickers can enhance the car’s aesthetic appeal. However, removing them improperly can damage the vehicle’s paint. Thus, understanding the correct removal process is important. This guide will provide detailed steps on how to remove car dealer stickers safely and effectively.
Preparing to Remove the Sticker
Removal of a car dealer sticker requires preparation to avoid damage to your vehicle’s paint. Begin with cleaning the sticker area with warm soapy water to eliminate grime and dirt. This step ensures that during the removal process, the debris will not scratch the car’s surface. After rinsing, allow the area to dry completely before proceeding to the next step. Ensuring the surface is clean and dry is essential for a safe and smooth sticker removal process. To prepare for the actual removal, gather tools you might need such as a hairdryer, plastic card, or floss. Having these on hand will make the process more efficient. Remember, proper preparation is the key to successfully removing the sticker without leaving any residue or damage.

Best Conditions for Sticker Removal
How to remove car dealer sticker? Choosing the right conditions is crucial for a successful sticker removal. Warmth is your friend here. It makes the adhesive softer. This eases the peeling process. Look for a sunny day or a warm, sheltered spot to begin work. You can also use a hair dryer to heat the sticker if needed. Keep it at a medium setting and hold it about six inches away from the sticker. Move it around to avoid overheating any area. If you use a hair dryer, be careful not to scorch the paint or melt the sticker.
Heat the sticker evenly until it feels warm to the touch. Then, gently test a corner of the sticker to see if it lifts. If not, apply more heat for a short period. Once it starts to give, you’re ready for the next step. If you’re doing this on a cold day, you may need to increase the heating time. Be patient and increase heat gradually. Excessive heat too quickly can damage your car’s paint. Remember to work slowly and never rush the job. Good conditions make the work go smoother and faster.
Techniques for Peeling Off the Sticker
Once you have heated the sticker and prepared the area, it’s time to peel it off. Slow and steady wins the race in this case. Begin at a corner or an edge of the decal and try to lift it gently with your fingernail. If it resists or tears, reapply heat to soften the adhesive further. For stubborn stickers, use an item like dental floss or a plastic card to lift the edge. These tools can slide under the decal and help you peel it off without scratching the paint. Here are the steps to follow:
- Choose a corner of the sticker to start.
- Gently pry the corner up with your fingernail or a tool, applying heat if necessary.
- If using a tool, slide it under the lifted edge and slowly push forward.
- Apply more heat if the sticker resists or breaks.
- Continue to peel gently, reapplying heat as needed.
- Remove any remaining bits of the sticker or adhesive.
Patience is key when removing car dealer stickers. If you rush, you might cause more harm than good. Remember to always use tools that are softer than your car’s paint to avoid scratches. Also, keep the area warm to maintain the adhesive in a pliable state. Following these techniques should help you achieve a clean removal without leaving any damage.
Tools to Assist with Sticker Removal
How to remove car dealer sticker? Removing a car dealer sticker can be tricky, but the right tools can make all the difference. Here are some items that will help you get the job done without damaging your car’s paint:
- Hairdryer or Heat Gun: A hairdryer can ease the removal by warming the adhesive. Use it on a medium setting to avoid paint damage.
- Plastic Cards: An old credit card or a plastic scraper can pry up the edges of the sticker gently.
- Dental Floss or Fishing Line: Slide floss or fishing line under the sticker to cut through the adhesive.
- Adhesive Remover: Products like Goo Gone can dissolve stubborn glue without harming the surface.
- Microfiber Cloth: Soft and non-abrasive, it’s perfect for cleaning the area after removal.
- Rubber Gloves: Protect your hands when using adhesive removers or if you prefer not to touch the sticky residue.
Choose the tool that fits your situation. If the sticker peels off easily, you might only need a hairdryer and a plastic card. For tougher jobs, you may have to use adhesive remover and the floss technique. Always be gentle to avoid scratches and damage to the car’s finish. How to remove car dealer stickers can be straightforward with these tools and a bit of patience.
Using Adhesive Removers
After removing most of the sticker, some adhesive may remain on your car’s surface. It’s vital to remove this residue to avoid attracting dirt and potentially damaging your vehicle’s paint. Here’s how to use adhesive removers effectively:

- Choose the Right Adhesive Remover: Products specifically designed to remove sticker residues, like Goo Gone or 3M Adhesive Remover, are highly recommended. These are safe for car paints and effective against stubborn glues.
- Apply the Remover: Put a small amount of the adhesive remover on a microfiber cloth. Gently apply it to the sticky area. Allow it to sit for a few minutes to soften the residue.
- Gently Wipe Away: After the residue has softened, use the cloth to gently wipe away the adhesive. You may need to apply more remover and repeat this step for tougher residues.
- Clean the Area: Once all the adhesive is gone, wash the area with soapy water to remove any remaining remover or residue. Dry the surface with a clean microfiber cloth.
- Inspect the Area: Check the cleaned area for any damage or leftover glue. If necessary, repeat the cleaning process to ensure a clean and smooth surface.
Using these steps ensures you remove all traces of adhesive without damaging your car’s paint.
Cleaning After Sticker Removal
After you have removed the car dealer sticker, cleaning is crucial. This prevents dirt from collecting and damaging your car’s paint. How to remove car dealer sticker? Here are simple steps to ensure thorough cleaning:

- Wash the Area: Use soapy water to wash the spot where the sticker was. This will remove any leftover adhesive remover and glue residues.
- Dry Thoroughly: Use a clean microfiber cloth to dry the area. Make sure no water spots are left which can attract dirt.
- Inspect for Leftovers: Check closely for any leftover adhesive. If you find any, reapply a small amount of adhesive remover and wipe it clean.
- Apply Car Wax: If necessary, apply a small amount of car wax to restore shine and protect the paint. This step is optional but recommended.
- Final Wipe: Give the area one last wipe with a clean cloth to ensure it’s spotless.
By following these steps, your car will not only be sticker-free but also maintain its aesthetic appeal and paint integrity.
Final Thoughts on Removing Dealer Stickers
Removing car dealer stickers can be a simple task with the right approach. It enhances your vehicle’s appearance and preserves its paint. Always prepare the area well and choose optimal conditions for the task. Heat the sticker gently to avoid damaging the paint. Use suitable tools to lift the sticker without scratching. Be patient and work slowly for the best results. After removal, clean the area thoroughly and check for any residue. Use adhesive removers if necessary, and consider applying car wax for extra protection. With care and attention, your car can look as good as new, free from unwanted dealer decals. Remember, the key to successful sticker removal is preparation, patience, and proper cleaning.


