For many car owners, understanding the mechanics of their vehicle can be daunting, but the car battery replacement process is one of the most accessible areas of car maintenance. With the right tools and a solid DIY car battery replacement guide, you can save time and money by handling this task yourself. Batteries are essential to your vehicle’s starting, lighting, and ignition systems, so knowing how to replace a dead or failing battery can ensure that your car runs smoothly. This comprehensive guide will offer you step-by-step instructions on everything you need to know about replacing your car battery. We’ll cover the reasons you might need a battery replacement, the tools required, safety precautions, the replacement process, testing your new battery, and maintenance tips to prolong its life. By the end of this article, you will be equipped with the knowledge and confidence to tackle this job on your own.

Understanding When to Replace Your Car Battery
Recognizing the signs that your car battery needs replacement is crucial for any car owner.
Common Symptoms of a Failing Battery
A variety of symptoms can indicate that your battery is nearing the end of its life. Observing these signs can help you act promptly before you find yourself stranded.
- Slow Engine Crank: If your engine hesitates to start or cranks more slowly than usual, it might signify that your battery is weak.
- Warning Light: Many vehicles come equipped with dashboard warning lights that indicate battery issues. If this light is illuminated, it is essential to investigate further.
- Corrosion: Noticeable corrosion around the battery terminals is a red flag. This can lead to poor connections and battery performance.
- Age of the Battery: If your battery is over three years old and shows any of the symptoms mentioned, it may be time for a replacement.
Importance of Timely Replacement
Ignoring the signs of a failing battery can lead to much larger issues, such as being unable to start your vehicle when you need it most. Regular checks can save you from inconvenient situations.
- Preventative measures: Keeping a close eye on your battery’s condition can help identify issues before they lead to a complete failure, ultimately saving time and costs associated with emergency replacements or roadside assistance.
Tools and Materials Needed
Before embarking on your DIY car battery replacement, gather the necessary tools and materials.
Essential Tools
Some common tools you will need include:
- Wrench or Socket Set: Ideally one that fits the battery terminal nuts (usually 10mm or 13mm).
- Battery Terminal Cleaner: This helps clean any corrosion off the terminals.
- Safety Gloves and Goggles: Protect yourself from acid and debris when dealing with the battery.
- Ratcheting Wrench: A great alternative if space is tight and you can’t use a socket.
Replacement Battery
Selecting the right battery for your vehicle is crucial.
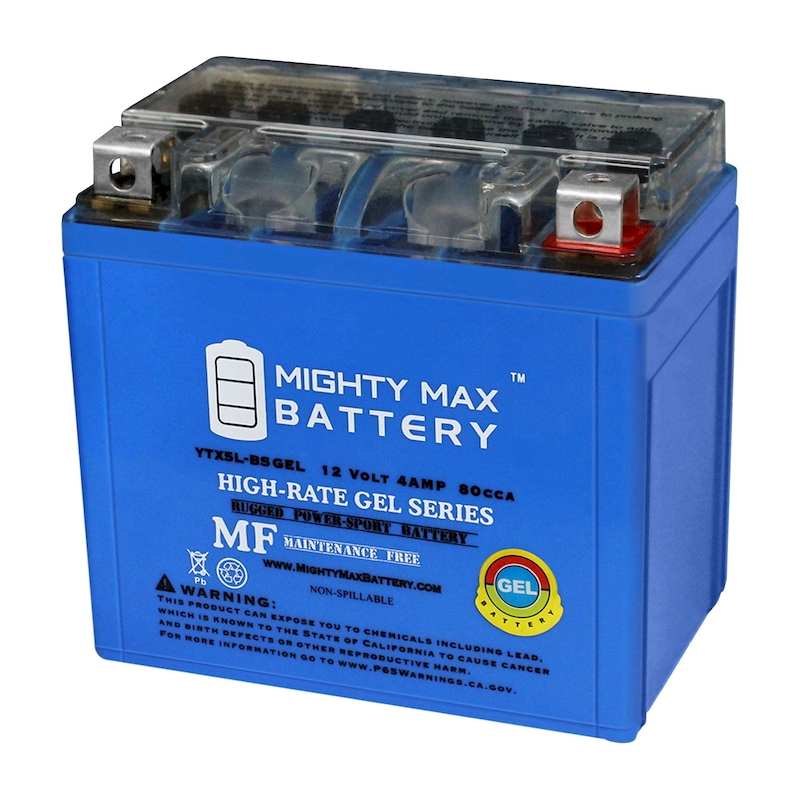
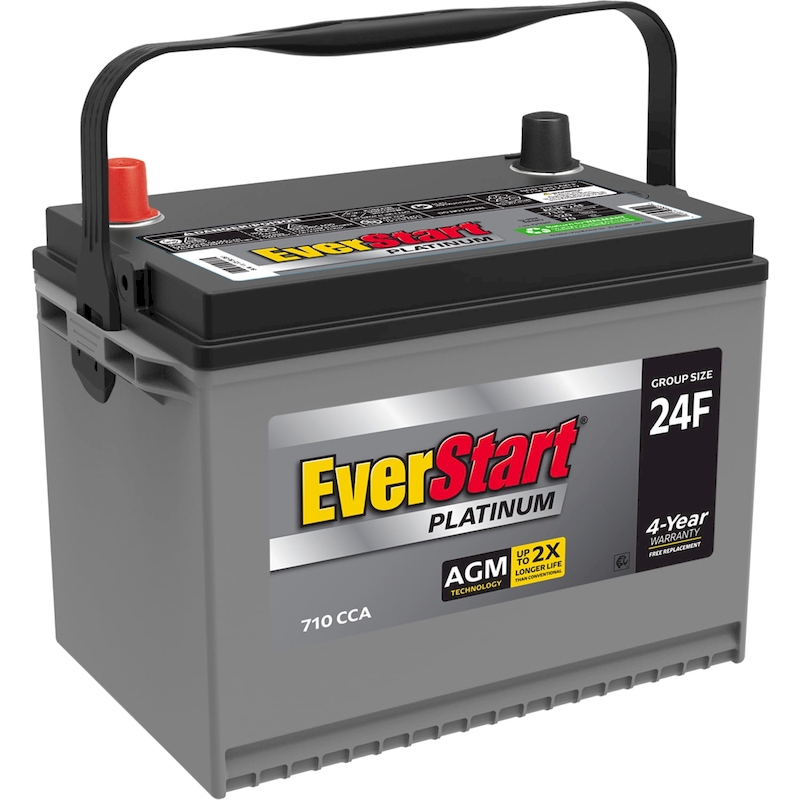
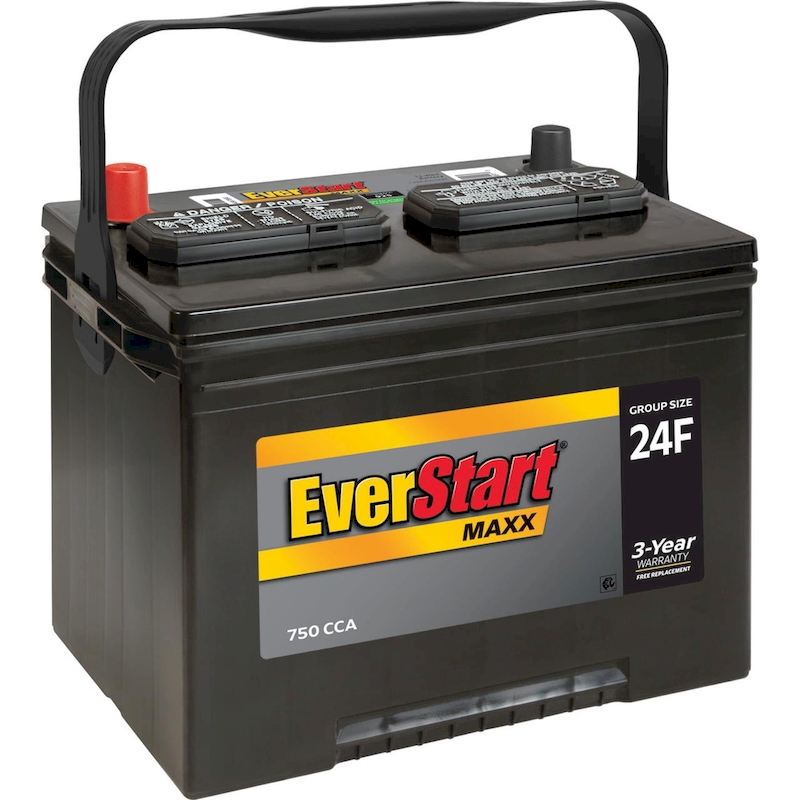
- Check Specifications: Your vehicle’s owner manual will list the battery specifications, including size, type, and cold cranking amps (CCA). Make sure to purchase a replacement battery that meets or exceeds these specifications.
- Research Brands: Popular and reliable battery brands often include Optima, Interstate, and Exide. Keep in mind that you may find warranties and longevity vary significantly among different brands.
Safety Precautions to Take
While replacing a car battery may seem straightforward, taking safety precautions is essential to avoid accidents.
Disconnecting the Battery Safely
When handling batteries, it’s important to disconnect the terminals correctly:
- Remove the Negative Terminal First: Always disconnect the negative (-) terminal first. This minimizes the risk of a short circuit, especially if a tool inadvertently makes contact with the vehicle’s frame.
- Secure the Wires: Make sure that your terminal wires are secured and won’t accidentally touch the battery posts.
Avoiding Acid Burns
Car batteries contain sulfuric acid, which can be harmful:
- Signs of Leaks: If you notice any leakage or swelling of your battery case, it is advisable not to handle it and seek professional help.
- Proper Disposal: When replacing the battery, remember local regulations regarding the disposal of old batteries to avoid environmental hazards.
Step-by-Step Guide to Replacing Your Car Battery
Now that we’ve covered the essentials, it’s time to dive into the actual process of replacing your car battery.
Step 1: Prepare Your Vehicle
Begin by preparing your vehicle for the battery replacement.
- Park on a Level Surface: Ensure your car is parked on a flat surface, with the ignition turned off and in park mode.
- Open the Hood: Securely prop up the hood with a support rod.
Step 2: Disconnect the Old Battery
Follow these steps to safely remove the old battery:
- Identify Terminals: Locate the positive (+) and negative (-) terminals.
- Disconnect the Negative Terminal: Using your wrench or socket, loosen the nut on the negative terminal and gently twist and pull it off the battery post.
- Disconnect the Positive Terminal: Repeat the same process with the positive terminal.
- Remove Hold-Down Bracket: If your battery has a hold-down bracket securing it to the vehicle, locate and remove it.
Step 3: Remove the Old Battery
After disconnection, you’re ready to remove the old battery.
- Lift Out the Battery: Batteries can be heavy, so use both hands to carefully lift the battery out of the vehicle. Be cautious of any residual acid, and keep the battery upright.
Step 4: Clean the Battery Tray and Terminals
Before installing the new battery, clean the battery tray and terminals:
- Battery Tray Cleaning: Remove any debris or corrosion to prevent damage to the new battery.
- Terminal Cleaner: Use the battery terminal cleaner to remove existing corrosion on the battery cables.
Step 5: Install the New Battery
Now, it’s time to put in your new battery.
- Position the New Battery: Carefully place the new battery into the battery tray, ensuring that the positive and negative terminals are correctly oriented.
- Attach the Hold-Down Bracket: If applicable, reposition and secure the hold-down bracket firmly.

Step 6: Connect the New Battery
Begin re-connecting the battery terminals.
- Connect the Positive Terminal: Attach the positive (+) terminal first by sliding it onto the corresponding battery post and securing it with your wrench.
- Connect the Negative Terminal: Next, attach the negative (-) terminal using the same method.
Step 7: Final Inspection
After connecting the terminals, conduct a final inspection.
- Check for Security: Ensure that all connections are tight and that the battery is secure in the tray.
- Visible Inspection: Ensure no tools are left in the engine bay and that everything appears to be in its place.
Testing Your New Battery
Once everything is securely in place, the next step is to test your new battery.
Starting the Vehicle
- Turn the Ignition On: Start your vehicle to confirm that the battery works correctly. A smooth start indicates that your replacement was successful.
Voltage Test
If you want to ensure optimal performance, consider using a multimeter.
- Check Voltage Levels: A fully charged battery should measure between 12.6 to 12.8 volts when the engine is off. If it measures below this, the battery might not be fully charged or may be faulty with DIY car battery replacement guide.
Road Test
Taking your vehicle for a short drive can further confirm that everything is functioning correctly.
- Observe Performance: Pay attention to electrical systems while driving to ensure that everything operates as expected.
Maintenance Tips for Your New Car Battery
To prolong the life of your new battery, consider implementing the following maintenance tips:
Regular Inspections
Perform routine checks to ensure your battery is in excellent condition.
- Visual Inspections: Check regularly for signs of corrosion or loose connections.
Clean Terminals Periodically
Cleaning terminals regularly helps prevent corrosion buildup.
- Using Baking Soda and Water: A mixture of baking soda and water can effectively neutralize acid. Apply using a toothbrush, carefully scrubbing the terminals.
Monitor Battery Health
Keep an eye on the battery’s performance over time.
- Understand Lifespan: Most car batteries last between three to five years.

Conclusion
An affordable DIY car battery replacement guide can empower you to take control of your vehicle maintenance, save money, and understand your car better. By following the steps outlined in this comprehensive guide, you can confidently replace your car battery with minimal stress.
From recognizing the symptoms of a failing battery to ensuring safe installation practices and routine maintenance, this journey can enhance your knowledge and skills as a car owner. Knowledge about your vehicle will not only improve its performance but also enrich your driving experience.
As you venture into this DIY task, remember that while it may seem intimidating at first, the satisfaction of successfully replacing your battery yourself is incredibly rewarding. Embrace the confidence that comes from empowering yourself with the tools and knowledge to handle car maintenance effectively, giving you peace of mind on the road ahead with DIY car battery replacement guide.

